 Maintaining the efficiency and longevity of your home’s Heating, Air Conditioning system is a crucial part of ensuring comfort and energy savings. One often overlooked yet vital aspect of Heating, Air Conditioning maintenance is cleaning the condenser coils. Condenser coils play a pivotal role in the cooling process of your air conditioning unit, and neglecting their maintenance can lead to decreased efficiency, higher energy bills, and even system breakdowns. In this guide, brought to you by Wolfer’s Home Services, we’ll walk you through the process of cleaning condenser coils to keep your Heating, Air Conditioning system running smoothly.
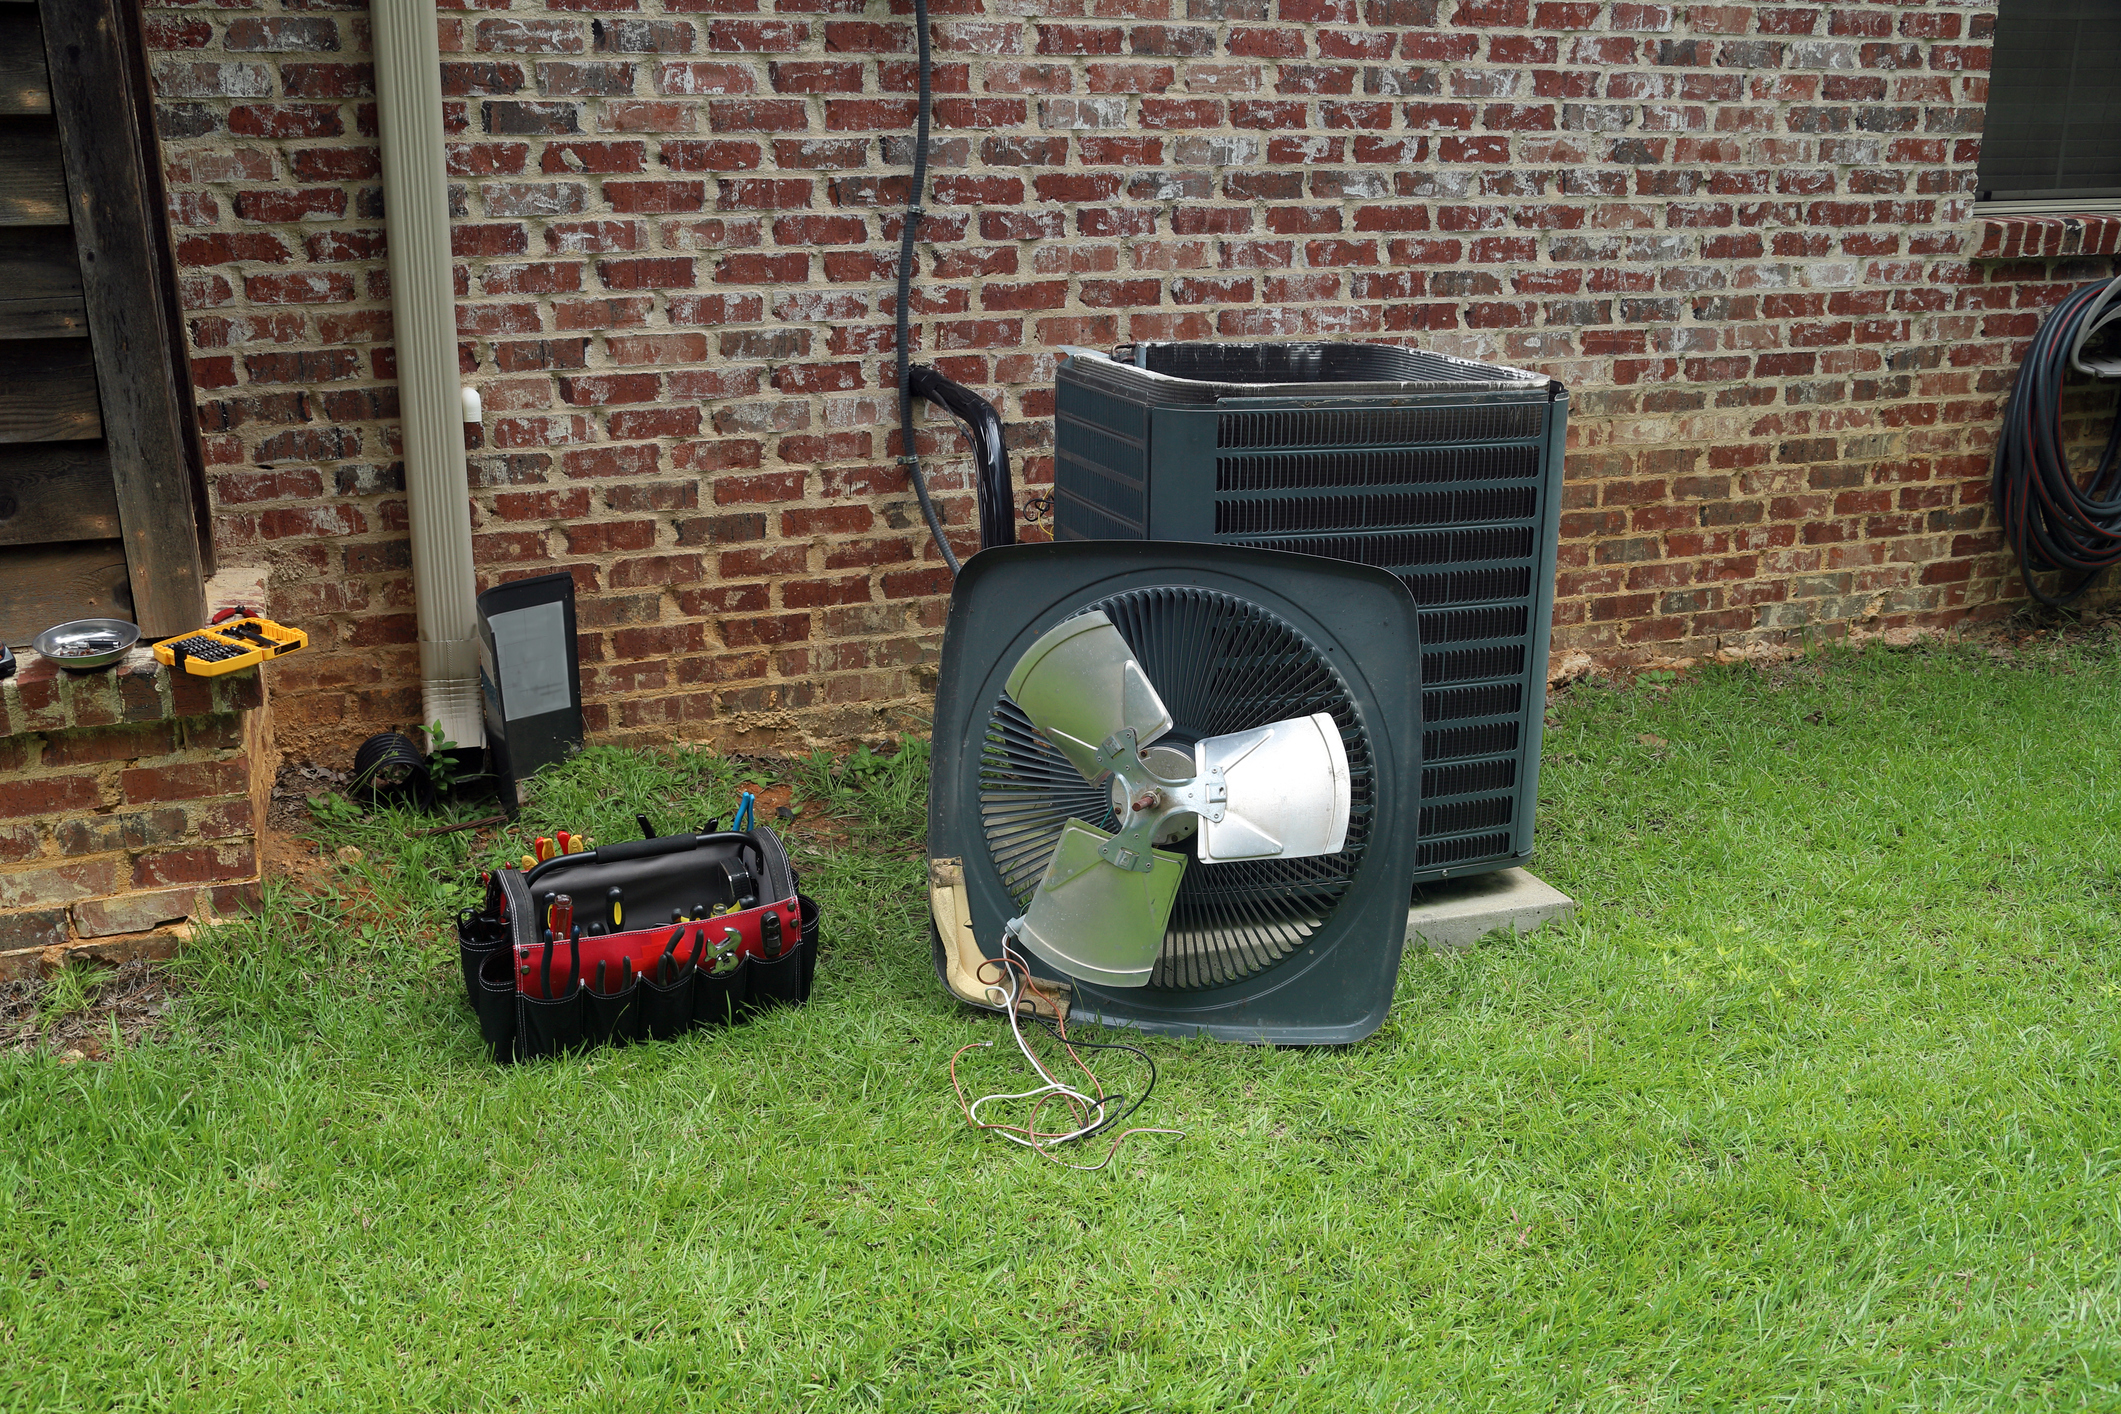
How to Clean Condenser Coils
Maintaining the efficiency and longevity of your home’s Heating, Air Conditioning system is a crucial part of ensuring comfort and energy savings. One often overlooked yet vital aspect of Heating, Air Conditioning maintenance is cleaning the condenser coils. Condenser coils play a pivotal role in the cooling process of your air conditioning unit, and neglecting their maintenance can lead to decreased efficiency, higher energy bills, and even system breakdowns. In this guide, brought to you by Wolfer’s Home Services, we’ll walk you through the process of cleaning condenser coils to keep your Heating, Air Conditioning system running smoothly.

Contact Us
Sidebar
REDEEM OFFER
Your Promotional Selection Has Been Applied!
Coupon Popup
Our Deals
$99 AC Tune-Up
REDEEM OFFER
Cannot be combined with other offers. 1 per household. Residential use only. Show at time of service.
$99 Water Heater Flush
REDEEM OFFER
Cannot be combined with other offers. 1 per household. Residential use only. Show at time of service.
$75
Trade-In Allowance on Old Tank Water Heater
REDEEM OFFER
Cannot be combined with other offers. 1 per household. Residential use only. Show at time of service.